When it comes to determining the durability and load-bearing capacity of a material, compression strength tests are essential. These tests measure how a material reacts when it’s compressed, which is crucial for industries like packaging, construction, and manufacturing.
What is a Compression Strength Test?
A compressiekrachttest evaluates a material’s ability to withstand loads that reduce its size. This test measures the maximum compressive force a material can handle before it deforms or breaks. It’s widely used for materials like concrete, cardboard, metals, plastics, and composites.
Why is Compression Strength Testing Important?
Compression strength testing ensures that materials can handle the stresses they’ll encounter during use. Key benefits include:
Ensuring product safety and reliability
Meeting quality standards and regulations
Reducing the risk of product failure and costly replacements
Providing data for product development and improvement
Types of Materials Tested for Compression Strength:
Concrete and cement
Packaging materials (like corrugated boxes)
Metals and alloys
Plastics and composites
Foams and cushioning materials
Equipment Used for Compression Strength Test:
To perform this test, you’ll need:
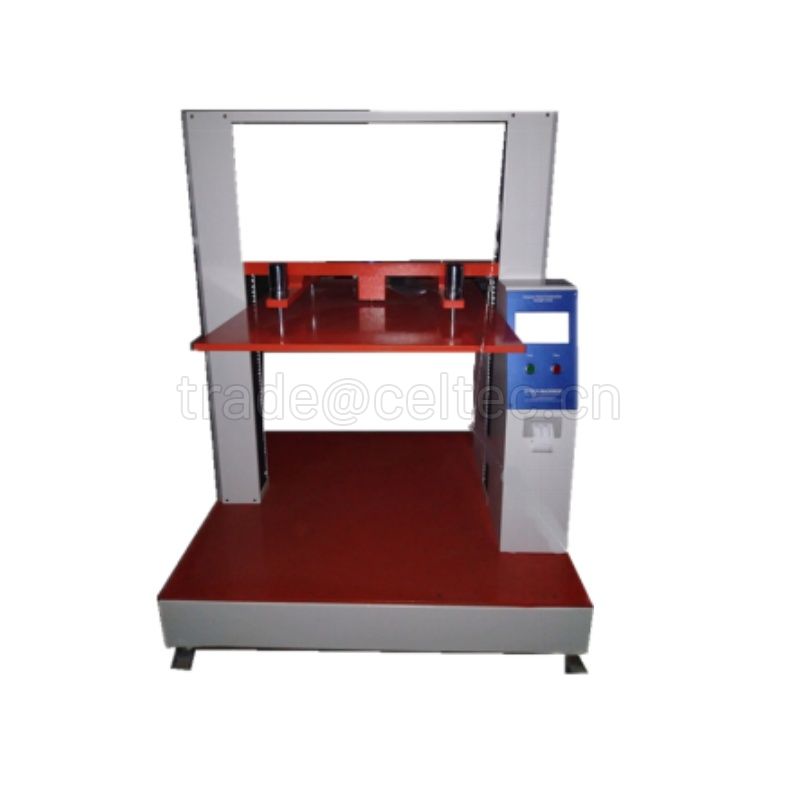
Universal Testing Machine (UTM) or Compression Tester
Load cells to measure the applied force
Specimen holders or compression platens
Computer or digital display for data recording
How to Perform a Compression Strength Test (Step-by-Step)
Step 1: Prepare the Specimen
Ensure your test material/sample is cut or molded into the required dimensions based on relevant standards (like ASTM, ISO, or EN).
Step 2: Set Up the Compression Tester
Place the specimen between the compression platens of the testing machine. Make sure it’s properly aligned to avoid uneven loading.
Step 3: Configure Test Parameters
Input the test settings, such as:
Load rate (speed at which the force will be applied)
Maximum load capacity
End condition (when the test will stop — at a certain deformation or load)
Step 4: Start the Test
Begin the compression test. The machine will apply a compressive force at a constant rate until the specimen deforms or breaks.
Step 5: Record the Results
The machine will display the maximum compression strength — typically in units like MPa (megapascals), psi (pounds per square inch), or N (newtons).
Step 6: Analyze and Document the Data
Review the compression curve and note:
Yield point
Ultimate strength
Failure point
Deformation characteristics
Compression Strength Test Standards:
Different industries follow specific standards, including:
ASTM D695 (plastics)
ASTM C39 (concrete)
ISO 604 (plastics)
EN 12192-1 (Concrete)
Be sure to refer to the appropriate standard for your material type.
Compression strength testing is een cruciaal kwaliteitscontroleproces voor veel industrieën. Door de juiste procedures te volgen en betrouwbare testapparatuur te gebruiken, kunt u ervoor zorgen dat uw materialen voldoen aan de vereiste sterktestandaarden en betrouwbaar presteren in echte toepassingen.
Veelgestelde vragen (FAQ)
V: Wat is het verschil tussen trek- en compressietests?
A: Een trektest trekt een materiaal uit elkaar, terwijl een compressietest het samenperst.
V: Kan ik handmatig een compressietest uitvoeren?
A: Voor nauwkeurige en consistente resultaten wordt aanbevolen een gecertificeerde compressietestmachine te gebruiken.
V: Hoe vaak moeten compressietests worden uitgevoerd?
A: Dit hangt af van industriestandaarden en productieschema's, maar regelmatige tests tijdens productieruns garanderen een consistente kwaliteit.
Conclusie
Begrijpen hoe je een compressiekrachttest zorgt ervoor dat uw materialen aan de normen voldoen en betrouwbaar zijn in hun uiteindelijke toepassingen. Of u nu werkt met verpakkingsmaterialen, metalen of beton, het volgen van de juiste testprocedure helpt u de productkwaliteit en -veiligheid te handhaven.
